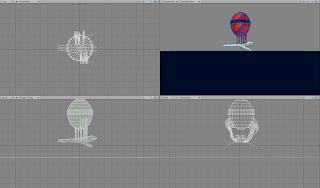
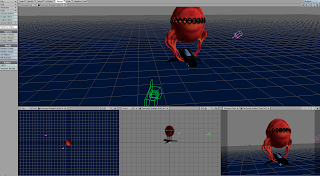
This model was created by getting influence from a fly for the craft - and the prospect of having a futuristic craft and hot air balloon as one unique design.
To begin the process, I first click "N" on the keyboard, which brings up a box - I put certain co-ordinates in to the box to fit the kind of idea I was going for with my design - making sure I hit the enter key for everything to register. Then I pressed the space bar to deselect the options in the box.
Then I clicked the tab key to turn on a mode called Sub Patch. This will make everything appear smoother and organic when creating things.
To begin the actual molding of the space ship, I selected the two back polygons of the ship - I then clicked on the "Move Tool" and pulled back the polygons so that they extruded outwards. Then I deselected all the polygons except the middle one, and clicked on "Smooth Shift" tool in the Multiply menu. This gives a smoothed out dent between the two ridges so it gives the appearance of jets. Then, to give the jets a hole for the flames, click on the polygons again and select the "bevel tool" - this will make a dent to finalize the jet like feel.
To create the wings, select the polygons on either side of the ship - then press "smooth shift," and use the "move/rotate" tools to extend the sides. Lean them out at an angle so that they're not just out straight, and appear more like wings. Once satisfied, use the "smooth shift" tool and drag out the wings.
For the front part of the craft, I extruded it slightly - and then simply pressed "smooth shift" to add the odd angle front part.
To create the Alien balloon shape - I firstly used the circular tool to create the globe, I made this fairly big in comparison to the craft. I then selected polygons on the sides and extruded them at odd angles so they appeared like tentacles - I finished them off by connecting them to the ship.
For the windows, I made the indents by pressing the "bevel tool." Once this was complete, I set about texturing it all.

To finalize the design, I textured it by naming each individual part and taking a texture I had saved in the image folder. I used a red-orange for the balloon part, and blue for the craft. I wanted the two vehicles to clash, almost like they shouldn't be together - one being more Alien and Sci Fi, and the other being futuristic - I believe I achieved this seperation further with the choices of colour.

I then added a background - I made it simple, with just a sea and sky scene. From here, I rendered it and made it in to a short video clip of a full circular motion around the vehicle.


0 comments:
Post a Comment